
So far we've looked at how to send files to someone else. But what about the flip side, when you need to receive a file from someone, and they don't have a Stellarbridge account? Maybe it's a vendor, a contractor, or an external partner. You need their file, but you don't want to put them through an onboarding process just to send you a document. Pair file requests with Forms when you also need structured metadata from the sender.
That's what file requests are for.
What Is a File Request
A file request — also called a public upload request — lets you create a link that anyone can use to upload a file directly to you through Stellarbridge, without needing to log in or create an account.
You control what's being requested. You write the instructions. The recipient follows the link, sees exactly what you asked for, and uploads the file. It lands in your Stellarbridge inbox, governed and logged.
It's clean. It's auditable. And it doesn't require your external contact to have any relationship with your organization.
Creating a Request
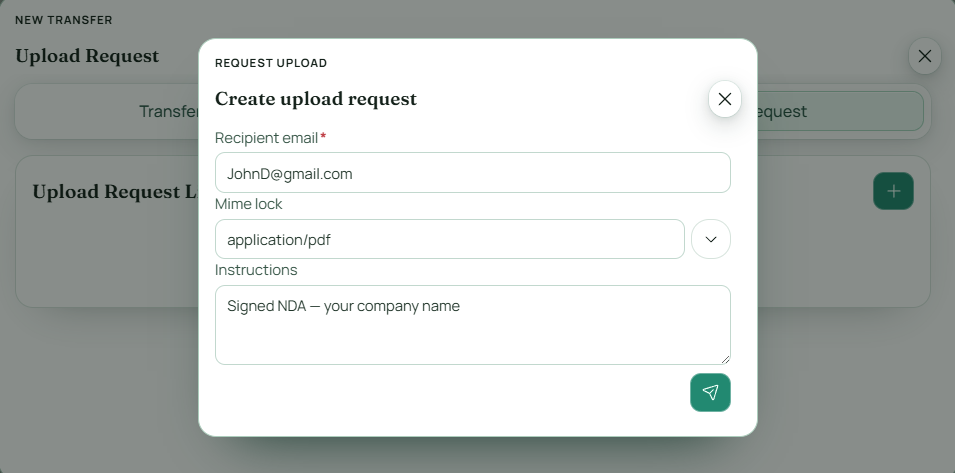
To create a file request, go to the Transfer Studio on your dashboard home. Look for the Request tab — or depending on your version, a "New Request" button.
You'll be prompted to give the request a name or description. Be specific here as your recipient will see this. Something like "Q3 Compliance Report" or "Signed NDA — your company name" is much better than "File Request 1."
You can optionally add instructions. This is plain text your recipient will see when they open the upload link. Use this to tell them exactly what format you need, what the deadline is, or any other context.
Once you save the request, Stellarbridge generates a unique upload link — a URL tied to this specific request. Copy that link. That's what you'll share with your recipient.
The Recipient Experience
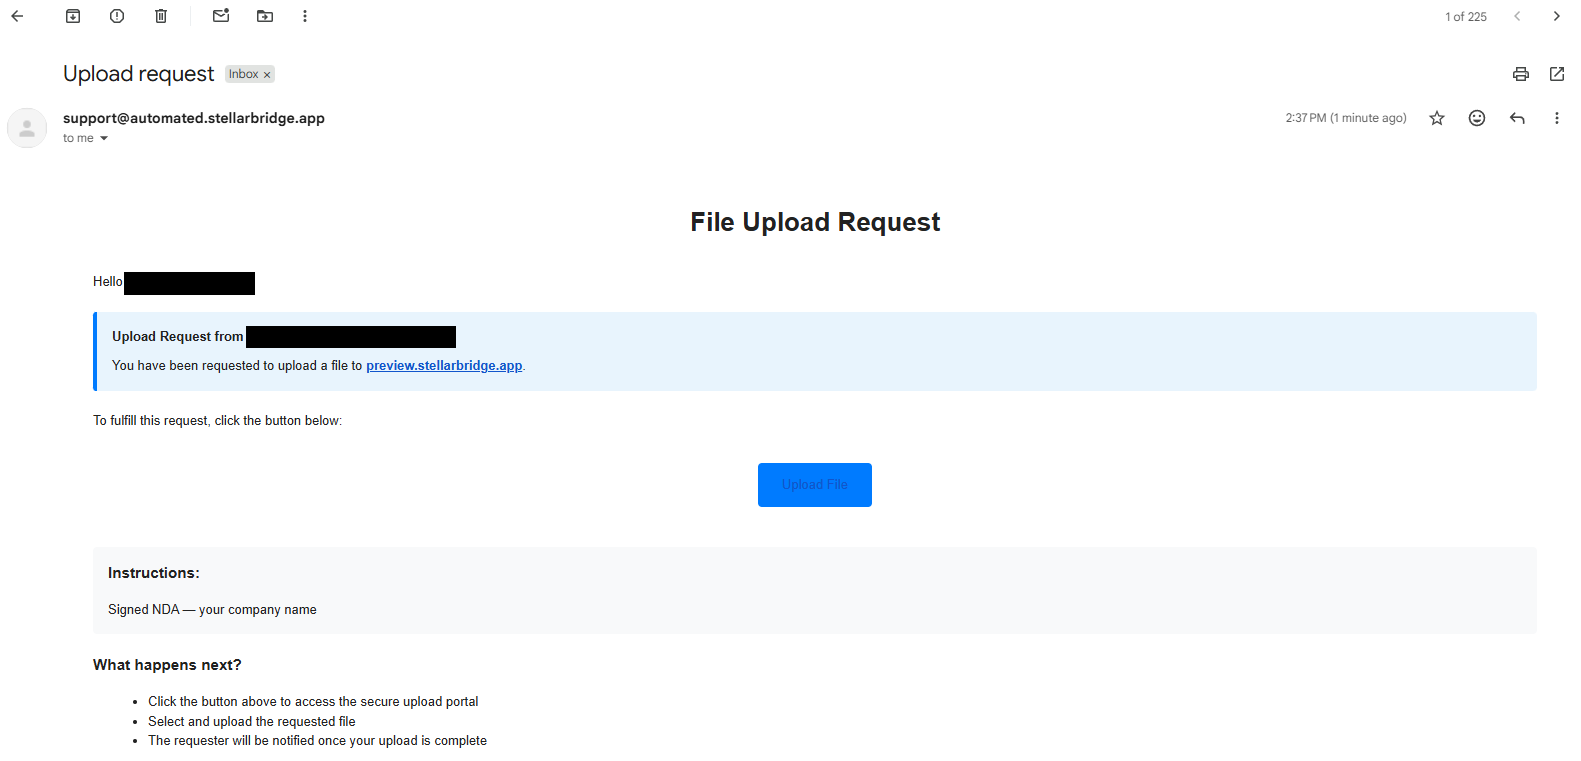
Your recipient gets the link via email, Slack, wherever you share it. They click it. No login screen, no account creation.
They land on a simple upload page that shows your request name, your instructions, and an upload button. They select their file and upload it.
That's the entire experience on their end. It's frictionless. There's nothing technical for them to figure out.
What Happens on Your End
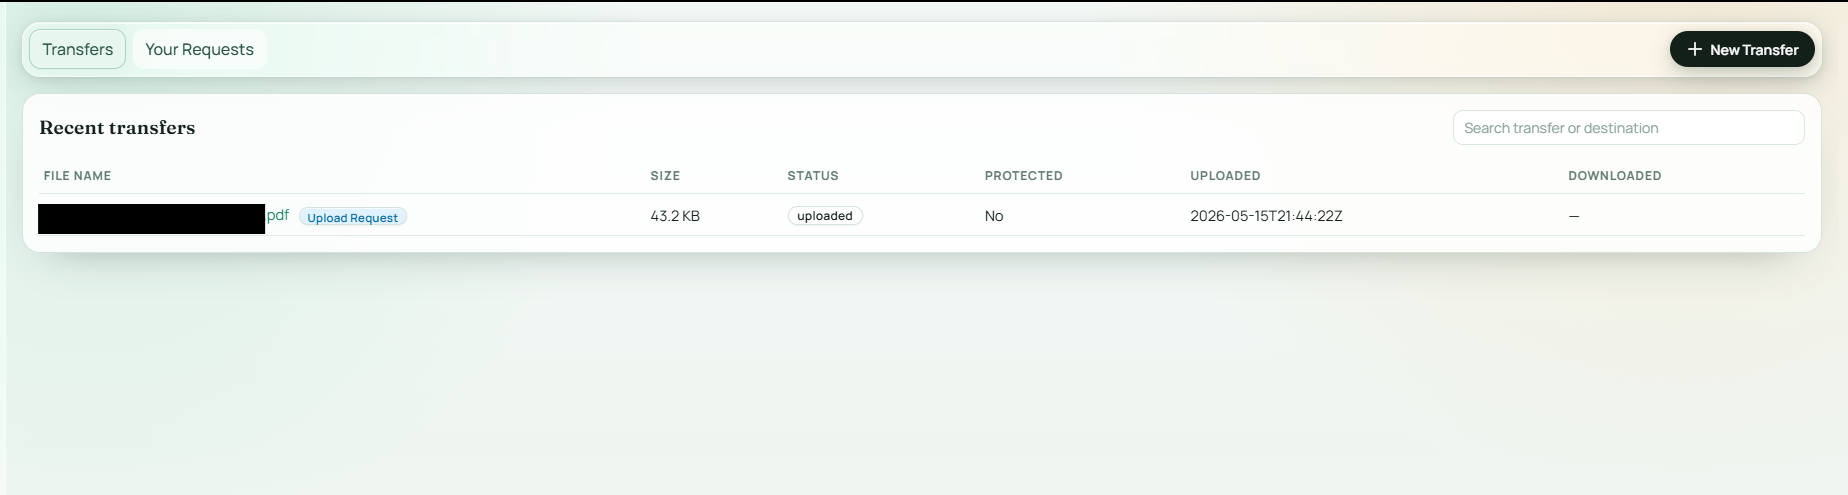
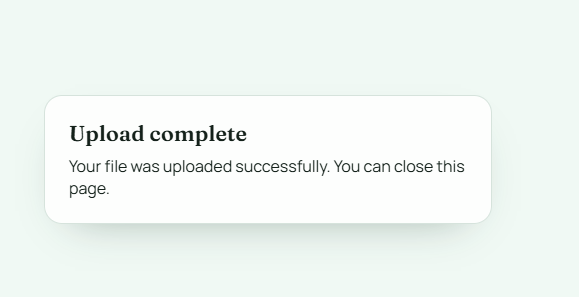
After the recipient uploads, the file arrives in Stellarbridge associated with your request. You'll see it in your dashboard, along with metadata about when it was uploaded and any information the platform captured about the transfer.
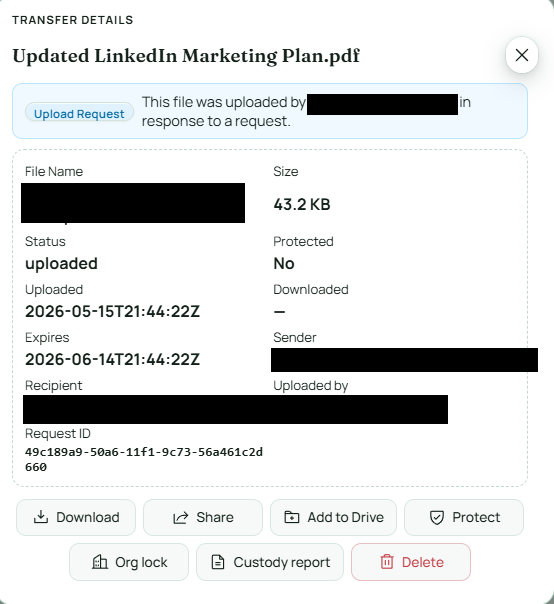
The transfer is logged to the audit trail just like any other secure file transfer. If your organization has policies governing incoming transfers, those are applied at the time of upload.
Managing Requests
You can have multiple open requests at a time — one per vendor, one per project, whatever makes sense for your workflow. Each request has its own unique link, so there's no mixing up who sent what.
If you need to close a request — maybe the deadline has passed or you've received what you needed — you can revoke the link. Revocation and audit controls are summarized on our security page. Once revoked, the upload link no longer works. Anyone who tries to use it will see an error. This keeps your intake controlled and time-boxed.
Security Considerations
A few things worth noting. The upload link is publicly accessible — meaning anyone with the link can use it. This is by design, because it eliminates the need for accounts. But it means you should share the link deliberately, not broadcast it. Treat it like a shared credential.
Everything uploaded through a request is still subject to your organization's policies and is fully auditable. It's not a back door. It's a governed front door that doesn't require authentication — a common need for HIPAA-covered vendor intake.
Recap
Go to Transfer Studio, create a new request, give it a clear name and instructions, copy the generated link, and share it with whoever needs to send you a file. They upload without an account. The file arrives in your dashboard, logged and governed.
Next up, we'll look at public links more broadly — how to share files from your Drive with people who don't have accounts, and how download links work.